Published by Ahmad Jamal on October 22, 2022 | Last updated on May 15, 2023
Swimming can literally be the best way to relax after a long day, some people kick off their day with a peaceful swim in their pool to get the fresh start they need for the day.
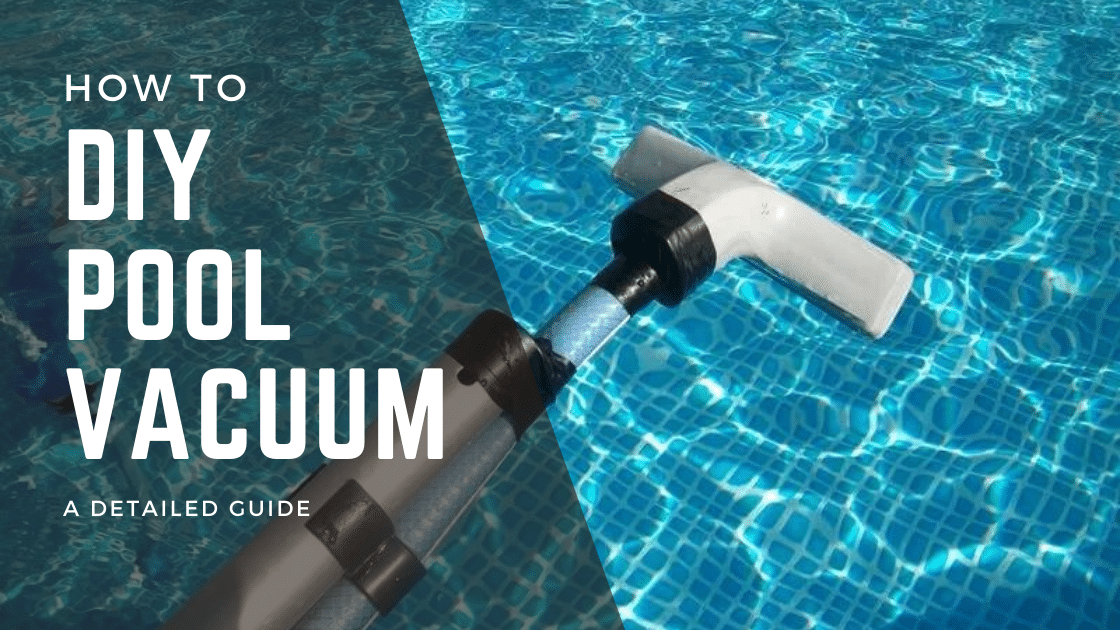
However, pools are vulnerable to a long list of dirt and debris, and that’s a thing you really need to be ready for beforehand, and this Cleaners Advisor article shall explain how to DIY pool vacuum effectively.
A homemade pool vacuum can be an effective tool to get your pool cleaned from the sand, green leaves, and different dirt types.
A special Commercial Pool Vacuum can be too expensive for residential pools, that’s why you can save all that extra cost by doing DIY Pool Vacuum.
DIY Pool Vacuum only requires creativity, patience, and an open-minded approach.
In this article, you’ll know how to make a pool vacuum using a garden hose, what to consider when trying to DIY Pool Vacuum, and more.
- What to Consider when trying to vacuum without a pool vacuum?
- Does Your Pool Have a Filter?
- Elephant in the Room: How to Make a Pool Vacuum Using a Garden Hose?
- How to Connect the Equipment Together in a DIY Pool Vacuum?
- What to do after setting up the equipment of a DIY Pool Vacuum?
- Prevention is Key
- DIY Pool Vacuum FAQ
- To Wrap Up
What to Consider when trying to vacuum without a pool vacuum?
We’ve already agreed that creating a homemade pool vacuum is the economical way, as commercial pool vacuums will cost you more than you need to spend, but you still need to consider more criteria when you want to DIY Pool Vacuum:
- Different Dirt Types Around Your Pool
- How Frequent Is the Pool Being Used?
- Your Pool’s Flooring Type
- Pool Size
- Your Budget
- Pool’s Filtering System
Does Your Pool Have a Filter?
An internal filtration system installed inside your pool can help a lot with vacuuming and can detour the course of vacuuming if you didn’t install such a system beforehand.
If you have an installed filter, then your worst enemies are the small debris, leaves, and algae, smaller particles are being taken care of by the filter.
You’ll need to turn off the filter to have easier access to the dirt stuck inside the filter, then start vacuuming the small debris & leaves & algae with ease.
Just make sure you don’t damage the filter while cleaning it, do it gently.
If you don’t have an installed filter, then you’ll have to deal with a larger set of dirt, including smaller particles like sand and dirt.
Therefore, you should do all the vacuuming yourself, start with brushing the sides of the pool, then slowly but methodically vacuuming the button of the pool with a DIY Pool Vacuum.
Just make sure that you don’t do it in fast movements, so as to not create unnecessary waves in the process.
Elephant in the Room: How to Make a Pool Vacuum Using a Garden Hose?
If you want to keep going with your plans for a perfect DIY Pool Vacuum, then creating a homemade pool vacuum using a garden hose is the most efficient way of doing a DIY Pool Vacuum.
Starting with the process on how to make a pool vacuum using a garden hose, let’s get the equipment you’ll need first:
- Garden Hose
- Plastic Funnel
- A Vacuum Bag
Garden Hose
Opened on both sides, the garden hose should be between 20 and 30 feet long.
Most of the time, you’ll find the garden hose made of polymer, which suits dealing with water and dirt inside it very well.
I advise you to take a garden hose that you’ve already used before and still functioning well, instead of buying a new one, for cost-saving reasons.
Plastic Funnel
Since you don’t have the luxury of getting everything ready and at an economical price, using a plastic funnel can easily widen the hose opening for a larger area coverage of the pool.
This DIY Pool Vacuum item is easy to create from water or a coke bottle, cut it at a 45-degree angle, then attach it to the hose, then give yourself a high-five for a job well done.
Vacuum Bag
The main use of the Vacuum bag is to make sure that the dirt you’ve already vacuumed doesn’t return to the pool.
It keeps the dirt trapped, and you can easily clean it after you’re finished.
How to Connect the Equipment Together in a DIY Pool Vacuum?
Once you’ve got the equipment, understood the task every piece of equipment is supposed to deliver, now it’s time to get them to work.
Attach the garden hose to one end with the vacuum, and on the other end with the Plastic Funnel/vacuum head.
Attach the vacuum bag and make sure it’s tight as you’d want it to be.
It’s an optional pick to get a telescopic pole if you want to lengthen the garden hose.
Here’s a video explaining everything in detail, using a similar set of equipment
What to do after setting up the equipment of a DIY Pool Vacuum?
You’ve finished the harder part, now we move into the easier part that only requires a bit of physical effort and a bit of planning beforehand.
Test the Setup
Start your first attempt at DIY Pool Vacuum by testing the equipment.
Take a small dive into the pool, check that every grip is maintained, that every piece is attached as perfectly as it should.
Kick It Off
If the testing shows no issues with equipment or the way they are attached, then you’re clear to start vacuuming.
Start with the steps explained in the “Does Your Pool Have a Filter?” sector above, as the presence of a filter can be the difference-maker in the process of DIY Pool Vacuum.
End of a Process
The process of vacuuming can be easily explained by saying that the vacuum bag will receive the sucked dirt by the hose since the bag is the low-pressure side of the equation.
Once it’s full, you should stop vacuuming, take out the DIY Pool Vacuum outside the water, then turn it off.
Disconnect the vacuum bag, empty the dirt safely, and wash the bag for any dirt remaining.
Now, you’ve finished the cleaning process successfully, re-attach a vacuum bag again if you’re still in need of additional vacuuming.
Prevention is Key
Since we’re done talking about the DIY Pool Vacuum process, I can assure you there’s nothing better than prevention.
What is prevention? Preventing the dirt and debris from getting into the pool in the first place.
You’ll never be able to do this step 100%, as dirt is stuck on the bodies of people who get into the pool, but you can get other types of dirt to stay outside the pool, limiting the effort and time you’ll need to vacuum the pool.
To do that, you’ll need to cover your pool when it’s not being used.
Don’t just open the cover whenever you want to use the pool, make sure you’ve swept it effectively so you don’t collect the dirt on the cover and let it inside the pool once you’ve uncovered it.
DIY Pool Vacuum FAQ
To Wrap Up
This concludes the DIY Pool Vacuum Guide, you’ve read through detailed steps on what equipment to obtain, how to attach them, and what steps do you need to follow to get your pool vacuumed.
Moreover, since a pool filter can be game-changing, a detailed step-by-step can be found in that section in the article, on how to deal with dirt if you have and if you don’t have a pool filter.
Do you still have a question? Leave it in the comment section below and I’ll get back to you with answers as soon as possible.
![4 Best Vacuums for Car Detailing [Tested by Experts]](https://cleanersadvisor.com/wp-content/uploads/2021/12/Best-Vacuums-for-Car-Detailing-1-350x190.png)
![4 Best Vacuums for Tile Floors [Tested & Tried]](https://cleanersadvisor.com/wp-content/uploads/2021/12/Best-Vacuums-for-Tile-Floors-1-350x190.png)
![4 Best Vacuums for Laminate Floors [Tested by Experts]](https://cleanersadvisor.com/wp-content/uploads/2021/12/Best-Vacuums-for-Laminate-Floors-1-350x190.png)
![The Review of the Pure Clean Robot Vacuum [Tested in 2023]](https://cleanersadvisor.com/wp-content/uploads/2022/02/pure-clean-robot-vacuum-2-350x190.png)