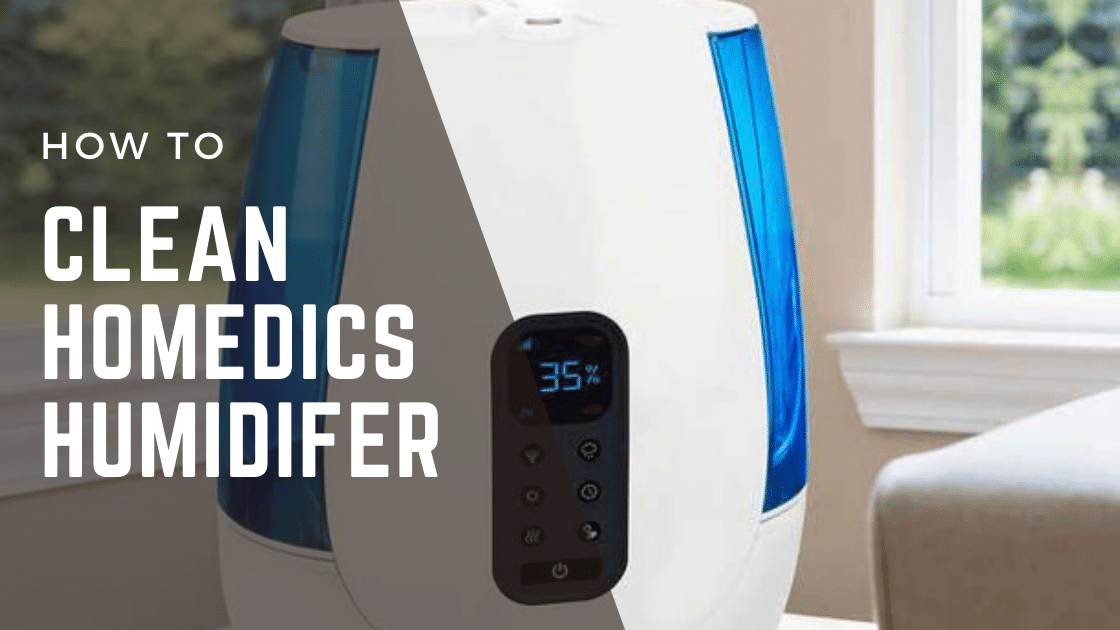
Published by Ahmad Jamal on February 21, 2022 | Last updated on January 9, 2023
Humidifiers are one of the most important machines when it comes to dry weather.
You need the best humidifiers to provide you with a certain level of humidity that makes living under dry conditions comfortable, instead of being livable at best.
However, they need constant cleaning. In this Cleaners Advisor article, you’ll be able to master the best way on how to clean homedics humidifier.
There are a bunch of HoMedics TotalComfort Ultrasonic models that provide excellent performance, but as I said earlier, they are in constant need of cleaning.
By the end of this article, you’ll be in a great position to know how to clean the homedics humidifier, using which tools, and with exact details on each cleaning step, all the way to the end of the process.
- Why Do You Need to Know How to Clean Homedics Humidifier?
- What is the Best Practice on How to Clean HoMedics Humidifier?
- What Equipment Do You Need Before Knowing the Steps of How to Clean HoMedics Humidifier?
- Elephant in The Room: How to Clean HoMedics Humidifier?
- Side tips on How to Clean HoMedics Humidifier
- How Often Should You Clean a HoMedics Humidifier?
- How to Clean HoMedics Humidifier FAQ
- To Wrap Up
Why Do You Need to Know How to Clean Homedics Humidifier?
Similar to any machine, HoMedics Dehumidifiers require a regular set of cleaning steps on constant basis, to keep it working efficiently.
Being reckless with any machine, or careless, and delaying the required cleaning of the HoMedics humidifiers for weeks, can lead to serious damage to the humidifier, and can sometimes break the whole machine down.
Therefore, you should master the best way on how to clean HoMedics humidifier, to be able to maintain the humidifier, alongside its great performance.
What is the Best Practice on How to Clean HoMedics Humidifier?
First and foremost, always follow the instructions on your HoMedics humidifier model, they provide the best and most accurate cleaning instructions.
If you fail to find it, go visit the manufacturer’s official website, you’ll find an online copy of the instructions.
If you can’t find either, then here’s how to clean the HoMedics humidifier with ease.
What Equipment Do You Need Before Knowing the Steps of How to Clean HoMedics Humidifier?
- Q-Tips (or a tooth brush)
- White Vinegar
- Water
- Water Sink
Elephant in The Room: How to Clean HoMedics Humidifier?
First Step
The first step for starting the cleaning process is to get rid of the water inside the reservoir by draining it into the sink.
Just make sure you don’t let the cartridge fall out, then set it aside.
Do the same thing to the other reservoir.
Drain all the water inside the humidifier’s base.
Make sure you don’t drain it towards the power cord, and it’s towards the side that’s disclosed inside the base.
Start with Reservoirs
The second step is isolating the reservoirs from the main machine, then adding a cup of White Vinegar to each reservoir.
Once you’ve done that, add a cup of water to each reservoir.
Let them soak for a while, you’ll come back to them later.
Move to the Transducer
The Transducer is the next on the list, start by unveiling it and removing the cover.
Create a solution using a small cup of 50% water 50% Vinegar.
Dip the Q-tip (or the head of the toothbrush) into the cup, and lightly rub the transducer.
When should you stop? When the transducer is black and nice and shiny with no white substances.
Hinge Floats’ Turn
You’ll find them on either side of the transducer, and they are too important to clean.
Use the same process you did on the transducer by dipping the Q-tip into the water-vinegar solution and clean the hinge floats.
When should you stop? When there’s no visible substances and you can move the floats without resistance.
Base’s Bottom Now
Now, move on to the bottom of the base to the side of the hinge floats, and clean it for around a minute each.
Make sure there are no mineral deposits left on either side of the base.
Next, get the solution out of the base by washing it with water.
Drain the water into the side the machine asks you to drain towards.
The final step inside the humidifier is putting the transducer’s cover back, now it’s clean and tidy on the inside.
Back to Reservoirs
Move back to the reservoir, get rid of the solution that was left in there.
Then, refill both reservoirs with 3-4 cups of water.
Rinse and repeat the rinsing for a bit.
Drain the water back into the sink again.
Get a paper towel and dry both reservoirs.
Refill it with water as usual.
Put the demineralization cartridges back again into both reservoirs.
Reinstall both reservoirs.
Push and hold the “Reset” Button on the humidifier for 3 seconds.
Now, you know exactly how to clean HoMedics Humidifier like a pro.
Side tips on How to Clean HoMedics Humidifier
Here are some important tips you’ll need to keep into consideration after knowing how to clean HoMedics Humidifier:
- Make sure you don’t leave any vinegar inside the humidifier after cleaning.
- It’ll get easier in the 2nd and 3rd times, so don’t worry about the effort or the time you’ll spend on it.
- Change the cartridges 2 times every 3 times you clean homedics humidifier.
- Always make sure to empty the tank and the reservoirs when you’re not using the humidifier.
How to Clean HoMedics Humidifier of Smaller Size
Here’s a video that shows how to clean HoMedics Humidifier that has smaller size, and would require less cleaning steps.
How Often Should You Clean a HoMedics Humidifier?
After mastering the steps in how to clean HoMedics Humidifier, the next question is knowing how often you should clean it.
The answer is simple and straightforward, clean the HoMedics Humidifier once a week at the bare minimum.
Being able to do it more frequently can also help provide the perfect performance of your HoMedics Humidifier all the time.
How to Clean HoMedics Humidifier FAQ
To Wrap Up
This concludes the detailed steps of how to clean HoMedics humidifier, as by now you should be able to carry out this important step that keeps the humidifier functioning correctly.
The disclosed method can be used whenever you don’t find the user’s manual and you require a detailed process to do the cleaning yourself.
If you’re still curious about any of the steps above, feel free to leave a question in the comments section below, and I’ll get back to you shortly.
![4 Cute Humidifier Designs [Tested & Tried in 2023]](https://cleanersadvisor.com/wp-content/uploads/2023/03/Blog-Banner-for-Website-Content-18-350x190.png)
![Dyson Humidifier Cleaning Guide [Fast & Easy Steps]](https://cleanersadvisor.com/wp-content/uploads/2022/05/Dyson-Humidifier-Cleaning-350x190.png)