Published by Hala Zaqqout on May 8, 2022 | Last updated on January 9, 2023
Creased shirts may simply ruin an outfit, changing you from smart to sloppy in no time. You don’t want to make a negative first impression by looking untidy.
If you really care about being well-dressed, you must learn how to iron a shirt. When you put on a well-ironed shirt, you instantly feel more confident; it just feels good.
While there are different ways to iron a shirt, selecting a foolproof but simple method helps speed up the process and ensure wrinkle-free results.
If you don’t have a good ironing regimen, getting a crisp shirt with no wrinkles can be difficult, but Cleaners Advisor is here to help. We’ve also covered similar ironing guides like “how to close an ironing board?” and “how hot does an iron get?”, make sure to check them out.
In this article, you’ll learn how to iron a shirt fast and accurately without leaving wrinkles. And if you’re already pretty adept at this task, you’ll probably find some helpful hints you hadn’t considered before.
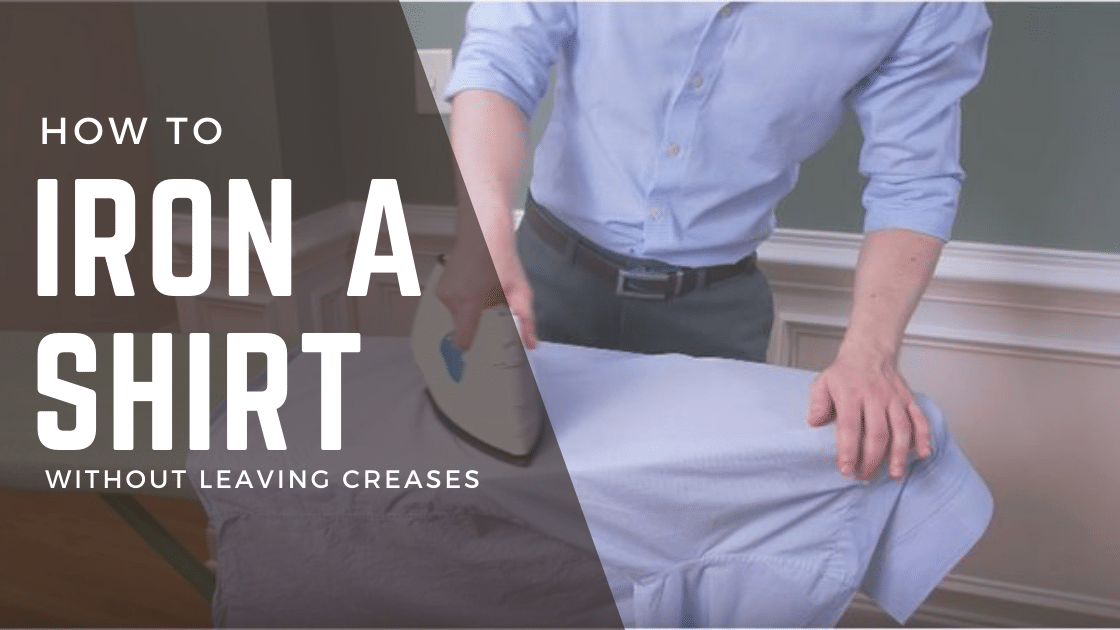
How to Iron a Shirt?
It can be frightening to take out the ironing board, but if you follow these steps on how to iron a shirt, you’ll have a wrinkle-free dress shirt in no time:
1. Read Shirt Label
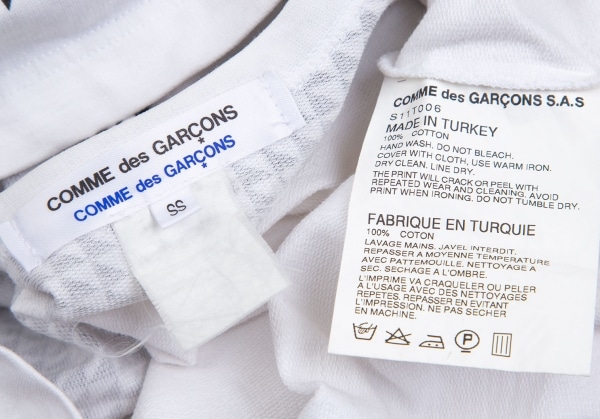
The first thing you should do is look for guidelines on your shirt’s care label. However, classify your shirts into linen, cotton, and synthetics as a general rule. By looking at the label, you’ll be able to tell what kind of material your shirt is made of.
This way, you may progressively increase the settings in the order that the materials that need more heat require more heat, without having to wait for the iron to cool down in between.
2. Ironing Set up
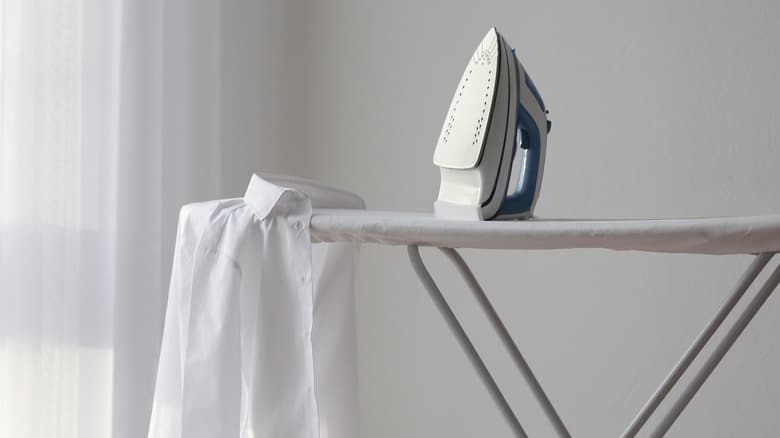
When you’re ready to start ironing out creases, get out your ironing board (or find a good flat surface), adjust the height to your liking, and plug in your iron.
Make sure the iron has water and that you set up close a power outlet and a place to hang your freshly ironed shirts.
3. Wet Your Shirt
The iron should be ready in 5 minutes, and all of the shirts should be moistened. Spray the shirt liberally with a spray bottle, mister, or the iron’s spray function, making sure it is equally wet.
The amount you iron depends on how quickly you want to wear the shirt once it’s been ironed, but the damper the shirt is, the easier it will be to iron out the creases.
4. Shirt Preparation

Undo all of the buttons, including the cuffs, put your shirt flat on the ironing board.
And then follow this all-important order to iron the shirt quickly and thoroughly.
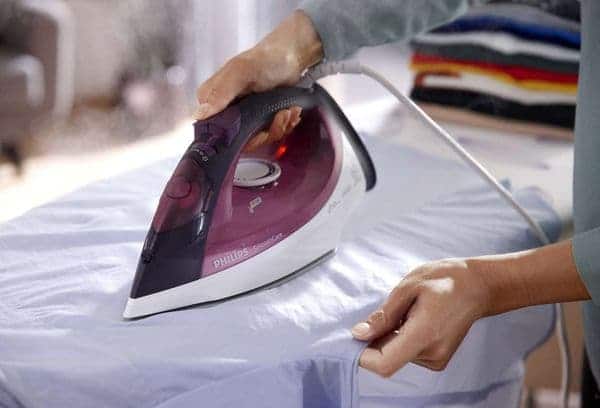
5. Time to Iron
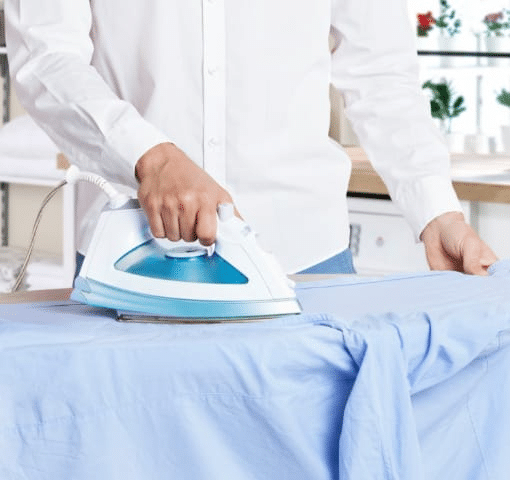
When it’s time to start ironing, keep the iron moving to avoid burning anything while ironing out creases and avoiding adding new ones. As you go, lightly pull on the shirt, but not so much that it creases. This is something that takes time to master.
But if you follow this procedure, you’ll have a freshly pressed shirt in no time.
a. The Collar
To iron the shirt collar, lift it up and begin ironing from the underside, moving the iron slowly from one spot to the other.
Before you begin, make sure it’s completely moist, and if any creases arise, press them to the bottom, where they’ll be less obvious. Flip the shirt over and do the same thing on the other side of the collar.
Begin with the shirt collar, ironing the underside of the collar face up. Press outward from the body to the edge of the collar to keep the fabric smooth and wrinkle-free. Then turn the collar over and iron the opposite side in the same way.
b. The Cuffs
Unbutton the shirt cuff (including the gauntlet button) and lay it flat to iron. Iron the inside of the cuff first, then the outside, making sure to move any creases from the uneven fabric to the edges. Iron around the buttons and even on the backside with care.
Buttons should never be ironed over (unless they’re on a towel or anything with giving), as they can leave a mark. To make French cuffs, open them completely and iron them.
I don’t recommend pressing the edges of a French cuff since it detracts from the life and body of a smooth fold.
d. The Front
Begin by working the iron point around the button area on the side with buttons (never over the buttons). Then, with the iron, go back up to the top of the shoulder and work your way down the shirt.
Rep on the other side, and if you have a placket, use the iron tip to press the material beneath it and then over the top. Because the front placket and areas surrounding the collar attract a lot of visual attention, it’s worth spending a little more time on them.
e. The Back
You can position one of the sleeve heads into the square edge of the ironing board by laying the shirt flat on the board. You now have half of the back ready to iron, and all you have to do now is slide the shirt over to finish the other half.
Begin with the yoke (back shoulder area) at the top and work your way down. If you have a center box pleat, you’ll have to iron around it for a few seconds.
I prefer not to iron back in the pleat because the time required for something you don’t want to draw attention to isn’t worth it.
f. The Sleeves
Take either sleeve by the seam and iron the entire sleeve (as well as most of the shirt) flat on the ironing board. If you can see the creases from previous ironing on the top of the sleeve, match it again so that you have a single crease line.
Begin ironing at the top of the shirt, where the sleeve is stitched on, and work your way down to the cuff. Iron the sleeve on the opposite side, then repeat with the other sleeve.
Insert a rolled-up towel into the sleeve if you don’t have a sleeve board and don’t want your shirt sleeve to have a crease. You’ll be able to iron it without leaving a crease mark if you do it this way.
6. Hang and Admire
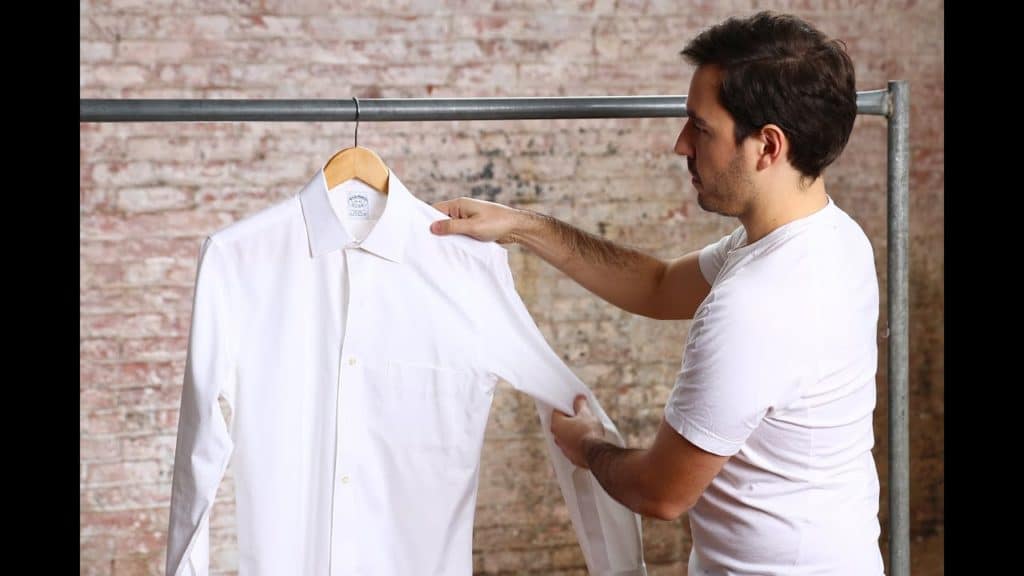
The last, but certainly not least, step is to hang your shirt immediately afterward; hang the shirt on a hanger and store it in your closet. This is especially important if you were a little too steamy and your shirt is still damp.
Take a moment to inspect your work and make sure you haven’t overlooked anything.
Finally, check out this video below to learn how to iron a dress shirt perfectly!
Some Ironing Tips & Tricks on How to Iron a Shirt
Here’re some tips to keep in mind on how to iron a shirt properly:
1. Check the care label on the shirt for the recommended ironing temperature and adjust your iron properly.
2. Begin with the most delicate fabrics, which require the lowest temperatures, then work your way up to the most durable, high-temperature fabrics.
Because it takes longer for an iron to cool down than it does to heat up, this will prevent you from scorching delicate fabrics with an overheated iron.
3. For smoother results, use the spray feature on your iron to gently moisten areas of fabric before passing the iron over them.
4. Apply a burst of steam to stubborn creases to help them disappear.
5. For the smoothest results and to prevent spray starch from building up on your iron’s soleplate, spritz a light starch spray 6-10 inches away from the shirt and let it soak in for a minute before ironing.
6. Check the manufacturer’s instructions for what type of water to use to keep your steam iron from clogging, since some types can cause build-up, block the holes, and cause spitting. Remember to drain the iron before putting it away.
7. Hang the shirt immediately after ironing to avoid wrinkling, or carefully fold the shirt if stored in a drawer.
How to Iron a Shirt FAQ
To Wrap Up
You know now how to iron a shirt fast and properly; say goodbye to creases with our ironing hacks.
When you get the hang of it, ironing isn’t difficult. You can get a shirt done in less than 5 minutes. And that’s it–you’re all set to take on the world. But most importantly, it’s important to check the shirt’s label for ironing instructions before doing anything.
If you have any tips on how to iron a shirt, then share them with us in CleanersAdvisor, in the comments box below!
![Over the Door Ironing Board [Best Tested Models in 2023]](https://cleanersadvisor.com/wp-content/uploads/2023/04/Blog-Banner-for-Website-Content-1-350x190.png)
![Tabletop Ironing Board: Best Models [Tested by Experts]](https://cleanersadvisor.com/wp-content/uploads/2023/04/Blog-Banner-for-Website-Content-60-350x190.png)
![How to Shrink a Bathing Suit [To Ensure Good Summer Looks]](https://cleanersadvisor.com/wp-content/uploads/2023/05/How-to-Shrink-a-Bathing-Suit-350x190.png)
![How Hot Does an Iron Get? [To Avoid Real Accidents]](https://cleanersadvisor.com/wp-content/uploads/2022/02/how-hot-does-an-iron-get-350x190.png)
![Find Out How to Close an Ironing Board Properly [2023 Guide]](https://cleanersadvisor.com/wp-content/uploads/2022/01/Blog-Banner-for-Website-Content-350x190.png)