Published by Ahmad Jamal on May 17, 2023
Error codes on shark vacuums are displayed to inform you that there’s a real problem with your vacuum that needs interference.
Errors can be easy to fix in less than a minute, or hard to fix that requires bringing the user manual and searching for a fix.
However, Shark Vacuum Error 9 isn’t any different, it’s an error that requires interference, but it’s not that hard to fix anyway.
In this CleanersAdvisor guide, we’ll tell you more about Shark Vacuum Error 9, why it may occur, and what Shark says about it.
Then, we’ll provide you with every fix possible to this error, using the expertise we gathered over years and years of using and testing shark robot vacuums.
What Is Shark Error 9 on Shark Vacuum?
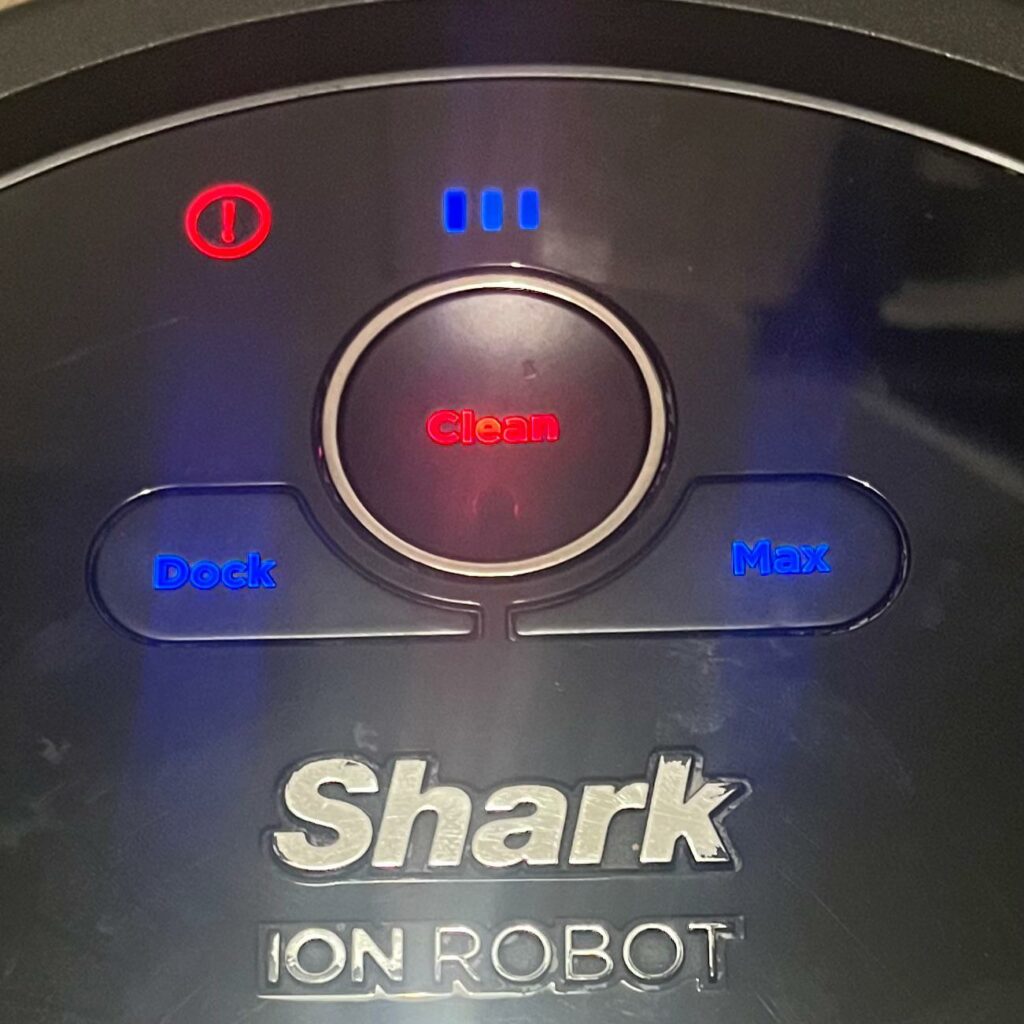
Shark Error 9 on Shark Vacuum is mainly caused by a hardware fault with the vacuum’s bumper.
In other words, there is a problem that prohibits the vacuum from moving freely due to a fault with the bumper.
When the vacuum isn’t moving freely and the bumper encounters a problem, then the shark robot vacuum isn’t having neither the vacuum nor the cleaning parts doing their cleaning duties.
Some fixes to the Shark Vacuum Error 9 are easy to carry out, others require a step by step method of fixing, read through to learn more about each of these fixes, try them one by one until the error stops and the vacuum works normally again.
How to Fix Shark Vacuum Error 9
Here the main steps you’ll need to carry out to fix your shark vacuum error 9:
1. Tap On The Bumper
2. Try to Power Cycle Your Shark Vacuum
3. Restore Cliff Sensors Functionality
4. Choose a Safer Path in Your Cleaning Schedule
5. Empty the Dust Bin
6. Reset Your Shark Vacuum
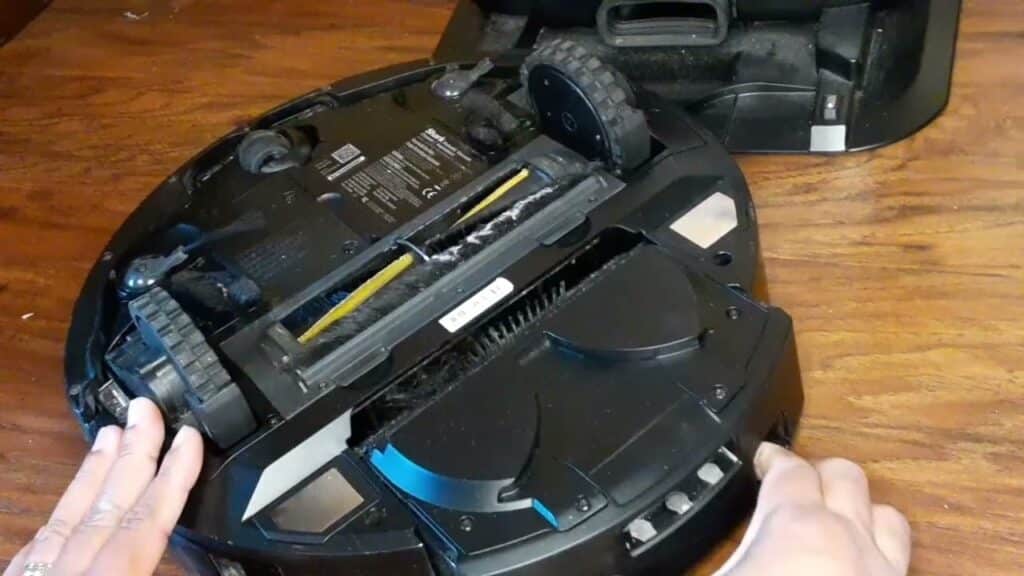
1. Tap On The Bumper
Since we’re discussing an issue caused by a faulty bumper, then we’ll first focus on it.
Some form of debris can block the bumper from working properly and blocks the information it relays.
Therefore, tap on it 10 times with medium force, in order to shake away any form of debris that may have interfered with the bumper’s work.
Afterward, ,just jiggle the bumper a handful of times when it’s turned upside down, to make sure you’re dropping the dirt or debris stuck there.
If the error is still there, move on to the next step.
2. Try to Power Cycle Your Shark Vacuum
A “restart” or a power cycle recharge can sometimes get your vacuum back to normal.
Power cycling your shark vacuum will refresh its software and remove any glitches that may have caused the error.
Here’s how to power cycle shark robot vacuum:
- Turn the vacuum upside down
- Press the power switch for 3 seconds
- Wait 60 seconds after the robot vacuum shuts down
- Connect the vacuum to the charging base for 5 minutes
- Unplug it then test your vacuum
3. Restore Cliff Sensors Functionality
Sometimes you keep wondering what’s actually happening to your vacuum that it doesn’t react to the surroundings properly.
Cliff sensors often times work properly and prevent disastrous falls, however, to get rid of error 9, maybe the cliff sensors aren’t functioning well.
Restore the functionality of the cliff sensors, and restore the regular movement your vacuum enjoys whenever it’s working around the house.
If your vacuum keeps stopping out of nowhere afterward, then visit this guide on why it keeps stopping, as we’ve provided several fixes too.
4. Choose a Safer Path in Your Cleaning Schedule
Maybe the cleaning schedule is far too complicated with the capabilities of your vacuum, and it’s time to check if there’s anything you can do to make it easier.
You can either start getting rid of multiple obstacles your vacuum finds in its way, making it easier for the bumper to move around without interfering with many obstacles and thus more information to process.
Or simply choose a safer path in your cleaning schedule that has less obstacles to deal with.
Once you do that, test if your vacuum encounters any errors, if so, then we’re still capable of carrying out 2 important fixes.
5. Empty the Dust Bin
We’ve found an older user manual that had this explanation on why Shark Vacuum Error 9 occurs:
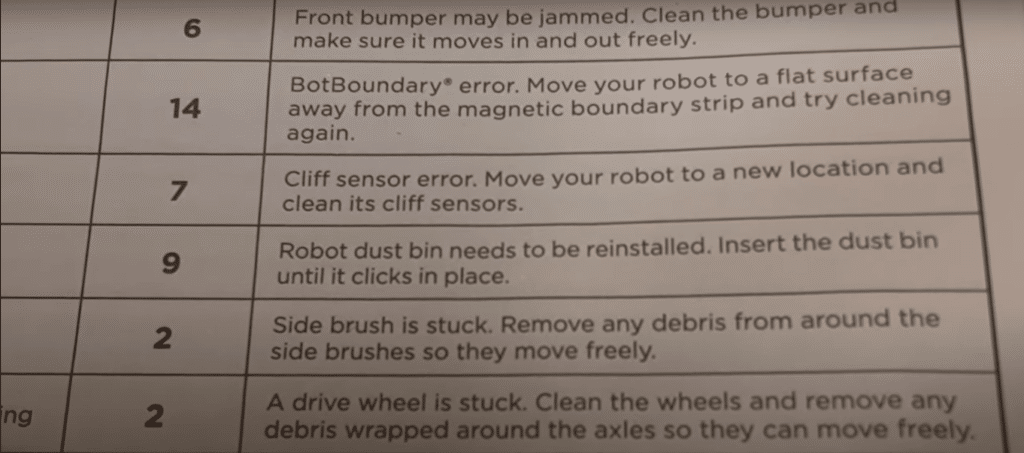
To fix this old error 9, empty the dust bin by following those steps:
- Wait until the robot is in the charging station, or carry it to the station
- Press “CLEAN” button so the vacuum discharges the dirt in the bin
- Discharge the dust bin and empty it out in the garbage
- Reinstall the dust bin then order the vacuum to start cleaning again
Here’s a video on how to deal with the older shark robot vacuum versions that encounter this error 9
6. Reset Your Shark Vacuum
We always feel that resetting your vacuum should be the last resort when you encounter any issues with your vacuum.
You can lose important scheduling or preset timers when you reset it.
So, if none of the 5 fixes work out with your vacuum, here’s a guide explaining everything about how to reset shark robot vacuum in less than 3 minutes.
To Wrap Up
Shark Vacuum Error 9 has few causes, but many fixes.
In this guide you have more than a handful of fixes to try when you encounter this error.
If you’re still unaware of how to get rid of this error, feel free to contact shark robot vacuum support.
Don’t forget to check our other Shark Troubleshooting guides:
- Shark robot vacuum not charging
- How to reset shark robot vacuum
- Shark robot vacuum error 2
- Shark vacuum brush not spinning
- Overheating shark vacuum
- Shark vacuum brush roll indicator light not on
- Shark vacuum making weird suction noise
- Why does my shark vacuum keep stopping
- Shark Robot Vacuum Troubleshooting
- My Shark Vacuum Won’t Turn On
- How to remove roller brush from shark vacuum
![4 Best Heavy Duty Mop Models [Tested by Experts]](https://cleanersadvisor.com/wp-content/uploads/2023/03/Blog-Banner-for-Website-Content-22-350x190.png)
![4 Best Vacuums for Car Detailing [Tested by Experts]](https://cleanersadvisor.com/wp-content/uploads/2021/12/Best-Vacuums-for-Car-Detailing-1-350x190.png)
![4 Best Vacuums for Tile Floors [Tested & Tried]](https://cleanersadvisor.com/wp-content/uploads/2021/12/Best-Vacuums-for-Tile-Floors-1-350x190.png)
![4 Best Vacuums for Laminate Floors [Tested by Experts]](https://cleanersadvisor.com/wp-content/uploads/2021/12/Best-Vacuums-for-Laminate-Floors-1-350x190.png)