Published by Enaam Siam on April 6, 2023 | Last updated on May 14, 2023
When it comes to renovating or revamping your house, stripping the floor is often an essential task. Stripping the floor involves removing the top layer of flooring to either restore it or prepare it for new flooring.
The process of stripping a floor might seem like a difficult task, but with the right tools, techniques, and knowledge, it can be an easy and satisfying project.
In this CleanersAdvisor guide, we will go over everything you need to know through the step-by-step process of how to strip a floor, from preparation to finishing touches.
- What is Stripping a Floor?
- Safety Precautions
- How to Strip a Floor: Step by step
- 1. Choose the Right Tools and Materials
- 2. Prepare the Room
- 3. Remove Baseboards and Molding
- 4. Remove Carpet or Other Flooring Materials
- 5. Gather Materials
- 6. Prepare the Surface
- 7. Apply the Stripper
- 8. Scrape and Sand the Floor
- 9. Clean the Floor
- 10. Apply The New Finish
- Maintenance Tips
- Common Mistakes to Avoid
- How to Strip a Floor FAQs
- Conclusion
What is Stripping a Floor?
Stripping a floor is the process of removing the top layer of flooring to reveal the surface beneath it. You might want to strip your floor if you are planning to change the flooring or want to restore the original surface.
The process can be messy and time-consuming, but it is worth the effort.

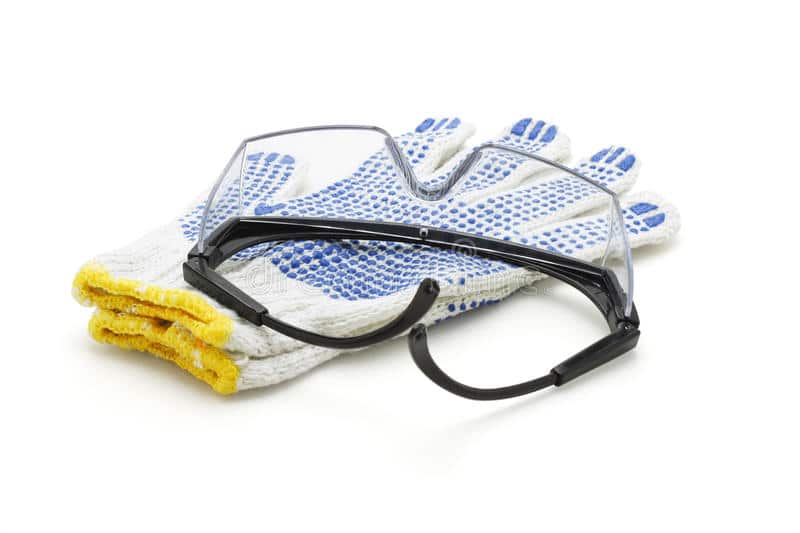
Safety Precautions
Before starting the stripping process, it is essential to take safety precautions. You should wear protective gear such as gloves, goggles, and a mask to prevent inhaling dust and harmful chemical strippers and follow the manufacturer’s instructions.
How to Strip a Floor: Step by step
Here are steps to follow to strip your floor in perfect way.
- Choose the Right Tools and Materials
- Prepare the Room
- RemoveBaseboards and Molding
- Remove Carpet or Other Flooring Materials
- Prepare the Surface
- Gather Materials
- Apply the Stripper
- Scrape and Sand the Floor
- Clean the Floor
- Apply a New Finish
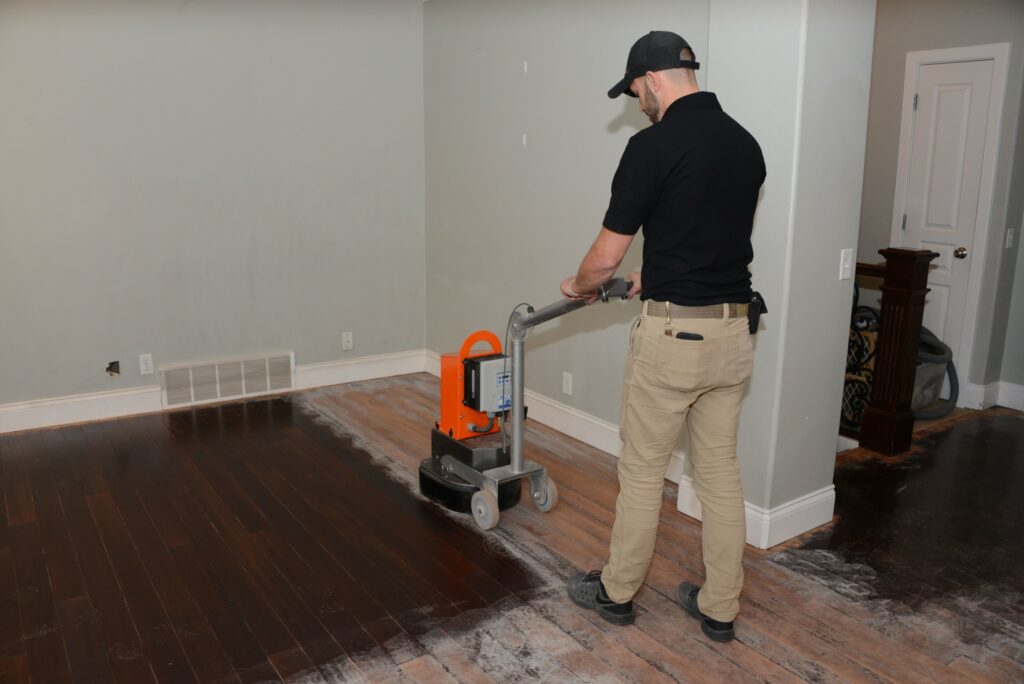
1. Choose the Right Tools and Materials
The tools and materials you will need depend on the type of floor you are stripping. Some common tools include a floor stripper, scraper, sandpaper, and a shop vacuum.
You will also need cleaning supplies such as a mop, bucket, and cleaning solution. If you are using chemical strippers, ensure you get the right product for your floor type.
2. Prepare the Room
Before starting the stripping process, you should prepare the room. Remove all the furniture and fixtures from the room, including wall art, curtains, and blinds. Cover any electrical outlets and vents to prevent dust and debris from getting into them.
3. Remove Baseboards and Molding
If you have baseboards and molding, it is essential to remove them before starting the stripping process. Use a pry bar and hammer to remove the baseboards carefully. Place them in a safe place where they will not get damaged.
4. Remove Carpet or Other Flooring Materials
If your floor has carpet or other flooring materials, you should remove them before starting the stripping process. Use a utility knife to cut the carpet into small pieces and remove it. If the carpet has a pad, remove it as well.
If you have other flooring materials such as tiles or vinyl, use a scraper to remove them.
5. Gather Materials
Next, gather all the materials you’ll need for the job, including:
- Floor stripper
- Scraper or putty knife
- Bucket
- Mop
- Protective gear (gloves, goggles, mask)
6. Prepare the Surface
After removing the carpet or other flooring materials, prepare the surface for stripping. Use a broom and dustpan to remove any loose debris, dirt, and dust. If you have any adhesive residue, use an adhesive remover to remove it.
7. Apply the Stripper
Apply the stripper to the floor in sections, following the manufacturer’s instructions. Use a paintbrush or roller to apply the stripper evenly and avoid leaving any puddles or drips. Allows the stripper to sit for the recommended time, usually between 15 to 30 minutes, depending on the product.
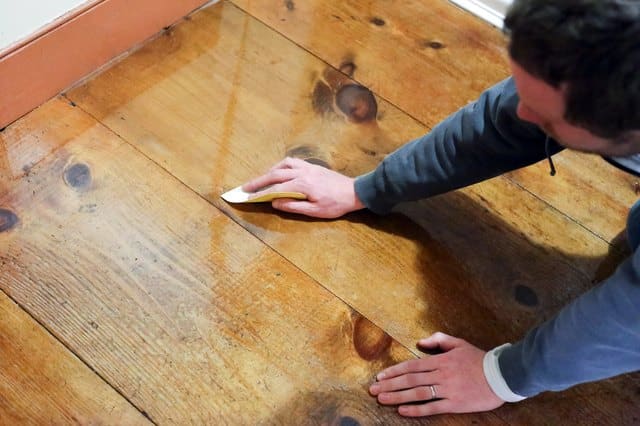
8. Scrape and Sand the Floor
After the stripper has been applied and has had enough time to work, it is time to scrape and sand the floor. Use a scraper to remove the top layer of the flooring, being careful not to damage the underlying surface.
Once you have scraped off the old layer, sand the floor to remove any remaining residue and smooth out the surface. Use coarse grit sandpaper first and gradually work your way up to finer grit sandpaper for a smoother finish.
9. Clean the Floor
Once you have stripped and sanded the floor, it is essential to clean it thoroughly. Use a shop vacuum to remove any dust and debris from the surface. After vacuuming, use a mop and bucket with a cleaning solution to clean the floor. Allow the floor to dry completely before moving on to the next step.
10. Apply The New Finish
After the floor has dried, it is time to apply a new finish. You can use a variety of finishes, including stain, paint, or sealant, depending on the look you want to achieve.
Apply the finish in sections, following the manufacturer’s instructions. Allow the finish to dry completely before walking on the floor or moving any furniture back in.
Maintenance Tips
To keep your newly stripped floor looking great, there are a few maintenance tips to keep in mind:
- Avoid dragging heavy furniture or objects across the floor, as this can scratch or damage the surface.
- Sweep or vacuum the floor regularly to remove any dirt or debris.
- Clean up spills and stains as soon as possible to avoid any damage to the finish.
Common Mistakes to Avoid
While stripping can be DIY project, there are some common mistakes to avoid:
- Not properly preparing the room before starting the process, which can lead to a mess and damage to surrounding items.
- Not wearing protective gear, which can be hazardous to your health.
- Not following the manufacturer’s instructions when using chemical strippers can lead to damaging the floor or not achieving the desired result.
How to Strip a Floor FAQs
Conclusion
Stripping a floor can be a time-consuming and messy process, but with the right tools and knowledge, it can be easy and joyful.
By following the step-by-step guide outlined in this article, you can strip your floor as a pro.
Remember to take safety precautions, choose the right tools and materials, and follow the manufacturer’s instructions for the best results.
This video shows step by step, how to strip or remove from the finish from VCT floors. Removing the floor finish is, without a doubt, the most challenging task in floor care.
Enjoy watching!
![4 Best Heavy Duty Mop Models [Tested by Experts]](https://cleanersadvisor.com/wp-content/uploads/2023/03/Blog-Banner-for-Website-Content-22-350x190.png)

![4 Best Vacuums for Car Detailing [Tested by Experts]](https://cleanersadvisor.com/wp-content/uploads/2021/12/Best-Vacuums-for-Car-Detailing-1-350x190.png)
![4 Best Vacuums for Tile Floors [Tested & Tried]](https://cleanersadvisor.com/wp-content/uploads/2021/12/Best-Vacuums-for-Tile-Floors-1-350x190.png)
![4 Best Vacuums for Laminate Floors [Tested by Experts]](https://cleanersadvisor.com/wp-content/uploads/2021/12/Best-Vacuums-for-Laminate-Floors-1-350x190.png)